
How to Apply Fake Tan Without Streaks: The Prep Routine That Does 80% of the Work
Streak-free fake tan is decided before the bottle opens. This guide covers the 24-hour prep routine, the mitt technique that avoids tide marks, and how to rescue a patchy result, all built from thousands of verified UK reviews.
Quick Answer
To apply fake tan without streaks, exfoliate and shave 24 hours before, then moisturise only your knees, elbows, ankles and hands just before tanning. Apply with a mitt in big circular motions, one body section at a time, using less product over the joints. Wash your palms straight away and stay in loose clothing until the tan feels dry.
Search for how to apply fake tan without streaks and most advice starts at the mitt. That skips the part that decides the result. Streaks happen when dry, flaky skin grabs extra pigment, and dry skin gets sorted the day before, not during application.
We analysed thousands of verified UK reviews across tanning mousses, gradual tans and prep products to build this routine. The pattern is blunt: reviewers who prep 24 hours ahead rarely mention streaks, while the one-star columns are full of people who tanned on unprepped skin.
Why Fake Tan Goes Streaky in the First Place
Every self-tan on the shelf, from a £4 mousse to a salon spray, relies on the same active ingredient: dihydroxyacetone, usually shortened to DHA. It reacts with proteins in the dead cells on your skin's surface and turns them brown over a few hours.
That one mechanism explains almost every tanning disaster. Wherever dead skin sits thicker, more DHA reacts and the colour develops darker. Wherever the product went on thin, or missed entirely, you are left with a pale strip.
An even tan therefore needs two things: an even skin surface and even coverage. Prep handles the first, technique handles the second, and prep is by far the bigger lever.
Why does fake tan cling to knees and ankles?
Knees, ankles and elbows carry thicker, drier skin than the rest of your body, so the DHA has more dead cells to react with and develops several shades darker. They are also creased joints, which lets product pool in the folds as you move.
The fix is twofold. Exfoliate these zones hardest the night before, then smooth a thin layer of plain moisturiser over them right before tanning so the colour dilutes instead of clinging.
How to Prep Skin for Fake Tan: The 24-Hour Routine
Everything in this section happens the day before you tan. It takes about half an hour, and it is where the 80% lives.
The night before: soak, exfoliate, shave
Start with a warm bath rather than a rushed shower. Twenty minutes of soaking softens the dead surface layer so it lifts off evenly, and it loosens any old tan still hanging on.
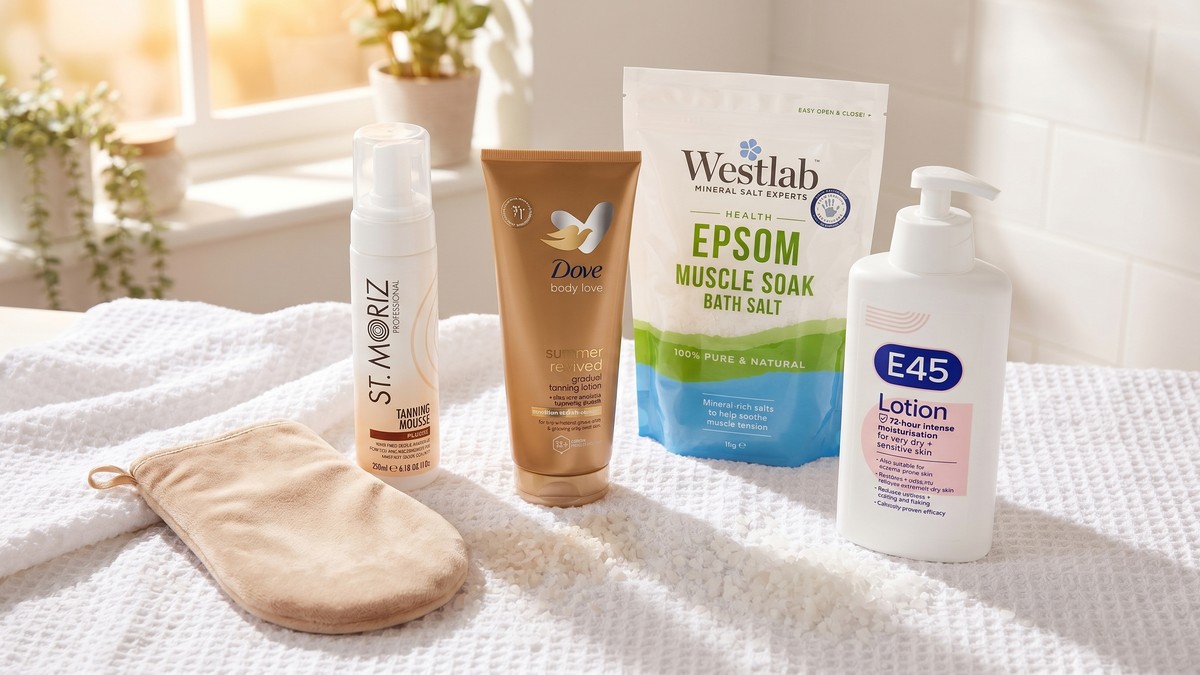
A couple of generous handfuls of Epsom salt, around 100-250g, makes the soak work harder on rough skin. Westlab Reviving Epsom Salt is the bag we keep recommending: about £3.48 for a resealable 1kg pouch, with a 4.7-star average across more than 10,000 Amazon ratings. It is completely unscented, dissolves without leaving grit in the bath, and reviewers with sensitive skin and eczema report no irritation.

While your skin is still soft from the soak, exfoliate everywhere with a scrub or an exfoliating mitt, spending longest on knees, elbows, ankles and the backs of your heels. Skip oil-based scrubs today: the residue they leave behind blocks DHA and causes the exact patchiness you are trying to avoid.
Shave straight after exfoliating, then moisturise your whole body before bed. By morning the lotion has fully absorbed and your skin is smooth, settled and ready to take colour evenly.
Should you shave before or after fake tanning?
Before, ideally a full 24 hours before. A razor is an exfoliator, so shaving after you tan scrapes the colour off in visible tracks down your legs.
Shaving immediately before tanning causes a different problem: the product settles into freshly opened follicles and dries as a scatter of dark dots. The night-before slot avoids both, giving pores time to close while keeping skin smooth.
Should you moisturise before applying fake tan?
Yes, but only on the dry zones, and only a thin layer. Just before you tan, smooth a small amount of unperfumed lotion over your knees, elbows, ankles, hands and feet. It acts as a buffer that stops those areas drinking in too much colour.
Do not moisturise your whole body right before tanning, because a full layer acts as a barrier and the tan develops patchy on top of it. Save all-over moisturising for the night before, and skip perfume and deodorant on tanning day, since both can react with DHA and leave pale or green-tinged marks.
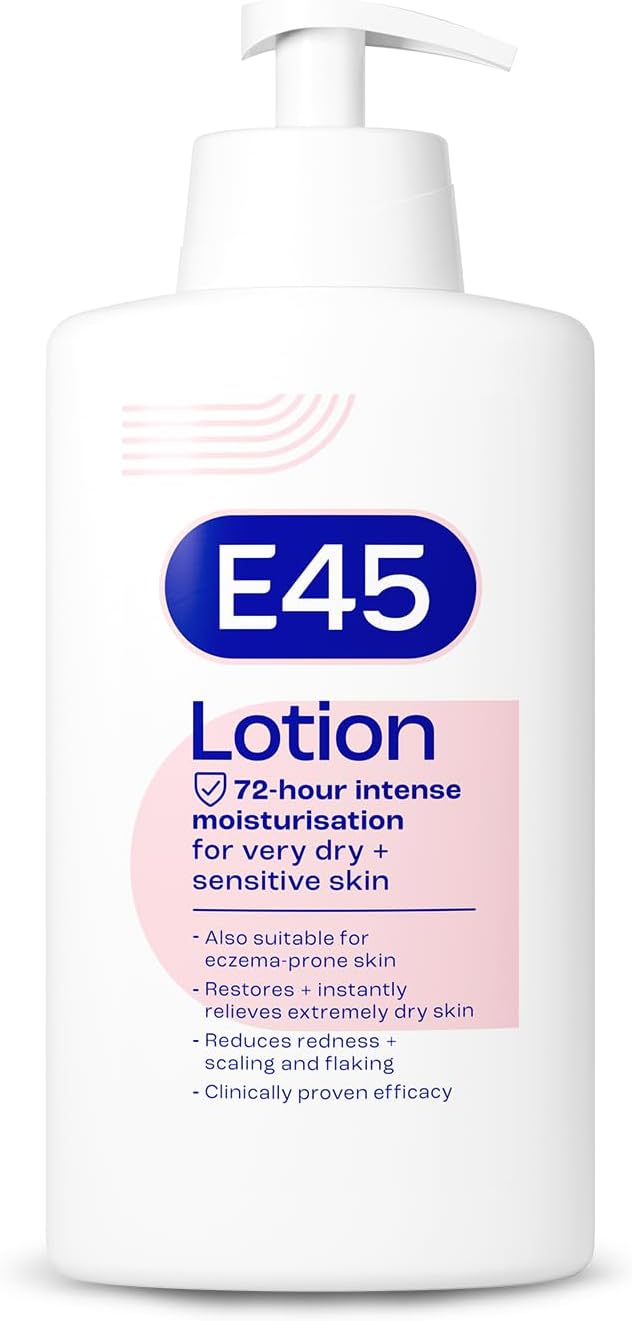
An unperfumed, lightweight lotion is the right tool for the buffer job, and E45 Moisturising Lotion fits it well. It is fragrance free, sinks in within a couple of minutes without a greasy film, and the 500ml pump bottle dispenses the small amounts you need for knees and elbows. At around £6.81 with a 4.7-star average across more than 18,000 ratings, it also earns its place as the daily moisturiser that keeps your tan fading evenly afterwards.
How to Apply Fake Tan Without Streaks: The Technique
With skin prepped, application takes about ten minutes. Work through it in this order and resist the urge to rush the final steps, which is where most streaks are born.
1. Start at the ankles and work up
Legs first, then torso, then arms. Working upwards means you never fold over a freshly tanned stomach to reach your shins, which is how crease lines appear across the waist.
2. Load the mitt, not your skin
Pump the product onto a velour mitt, never directly onto your body, and buff it in with big circular motions and light pressure. Long straight swipes leave tide marks; circles keep every edge blended.
Work one section at a time, a shin, a thigh, a forearm, and overlap each pass slightly. Two pumps per section is plenty for a mousse.
3. Go light over the joints
Bend your knees and elbows as you tan over them so the product covers the stretched skin without pooling in the creases.
Use only what is already left on the mitt for knees, ankles and elbows rather than adding fresh product. Those areas need a tinted whisper, not a full coat.
4. Hands, feet and face last
By the time you reach your hands and feet the mitt should be nearly dry, and that residue is all they need. Make a loose claw with your hand, sweep the mitt over the back of it and blend up over the wrist.
For the face, buff in one small pump with a clean foundation brush. One mousse reviewer uses exactly this trick for a no-makeup glow.
5. Dry fully, then leave it alone
Stand for five to ten minutes before dressing, then wear loose, dark clothing and avoid water while the tan develops, typically 4-6 hours. Tanning before bed works well too, just choose dark bedding because most mousses transfer a little overnight.
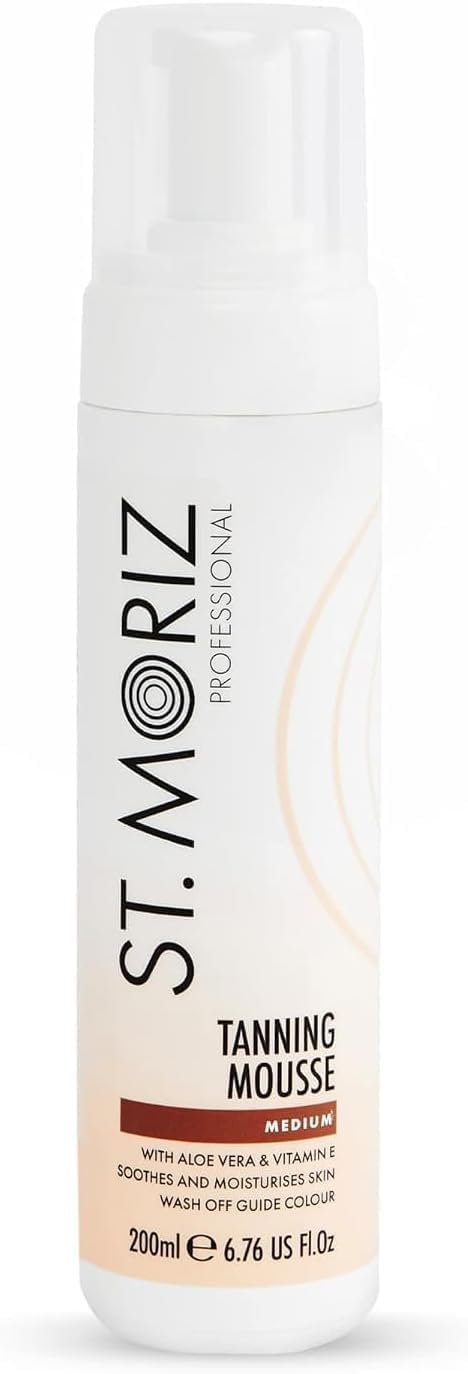
A mousse with a strong guide colour makes this technique far easier to learn, because you can see exactly where you have been. St Moriz Professional Tanning Mousse in Medium is the budget benchmark: around £4 for 200ml, a 4.4-star average across nearly 8,000 Amazon reviews, and the brand claims a bottle sells every 20 seconds in the UK. Pale, cool-toned reviewers repeatedly describe the developed colour as golden rather than orange. Two warnings from the review data: it smells faintly of biscuits as it develops, and the caps are known to leak, so store the bottle upright.
Gradual Tan vs Mousse: Which Is Better?
Both formats rely on DHA. The difference is concentration and delivery, and that changes who each one suits.
- Mousse: full colour in one session, a guide colour that shows your coverage, and a fast dry-down. It needs the complete prep routine, and any mistake shows at full strength.
- Gradual tan: a body lotion with a low dose of DHA. Colour builds over two to three days, it doubles as your moisturiser, and it is very hard to streak. The trade-off is patience and a subtler finish.
Our verdict: pick a mousse when you want depth for an event this weekend, and a gradual tan for low-effort colour you can maintain. Plenty of reviewers keep both, using mousse for the occasion and gradual tan to top up midweek.
Is gradual tan or mousse better for beginners?
Gradual tan is the better first bottle. The low DHA concentration means uneven application reads as a slightly uneven glow rather than zebra stripes, so you can practise the prep and mitt habits with low stakes.
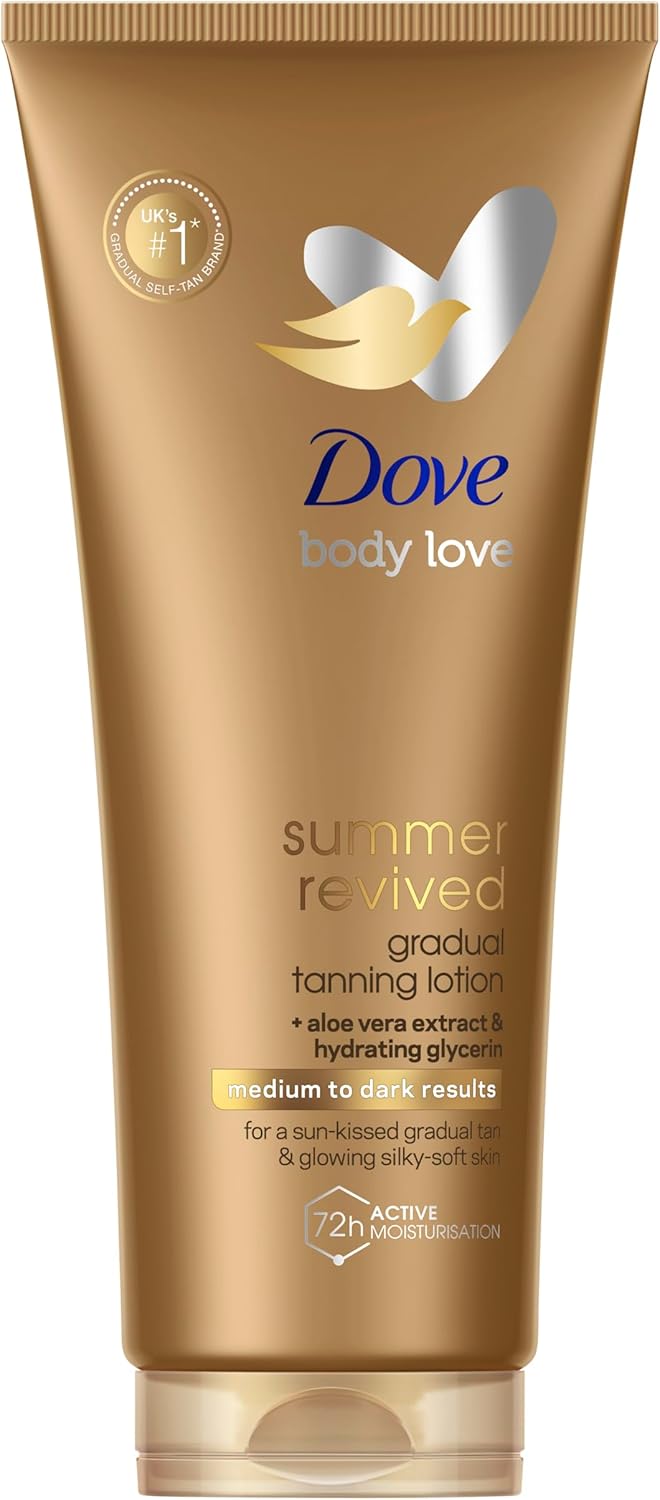
Dove Summer Revived in Medium to Dark is the obvious starting point: it is the UK's best-selling gradual tan at around £3.40, holding a 4.5-star average across more than 3,800 reviews. It applies like an ordinary body lotion, dries in minutes and shows colour by the next morning, and reviewers note it is difficult to overapply to the point of streaking. The one mistake it will not forgive is unwashed palms: soap your hands the moment you finish, and expect a biscuity tan smell once the fruity fragrance fades.
How to Fix Patchy Fake Tan
Even with solid prep you will eventually face a dark knee or a missed strip behind one ankle. Match the fix to the problem instead of scrubbing everything off in a panic.
How do you fix fake tan streaks after they develop?
For patches that developed too dark, soak in a warm bath for 20 minutes, then buff only the dark areas with an exfoliating mitt. A warm Epsom salt soak speeds the lift because the salt softens and loosens the stained surface cells. Repeat the next evening if the patch is stubborn rather than scrubbing skin raw in one go.
For pale strips and missed spots, blend colour in instead of taking colour off. A thin layer of gradual tan smoothed over the light area evens it out by the next morning without creating a hard edge.
For a full-scale disaster, strip the lot: a long soak, an all-over exfoliation, then a day of heavy moisturising before you re-tan. Daily moisturising also keeps a fading tan even, which is why an unperfumed everyday lotion stays in the routine after tanning day.
If your skin reacts to fake tan with redness, itching or a rash, stop using it and speak to a pharmacist rather than trying to fix the colour.
Frequently Asked Questions
How long before fake tan should you exfoliate?
Exfoliate 24 hours before you apply fake tan, or the night before at the latest. Most mousse instructions, including St Moriz's, tell you to exfoliate and shave at least 24 hours ahead. Scrubbing immediately before tanning leaves residue on the skin and freshly buffed patches that grab colour unevenly.
How long after fake tan can you get dressed?
Wait five to ten minutes until your skin feels completely dry, then put on loose, dark clothing. Avoid tight waistbands, bra straps and socks during the develop window, usually 4 to 6 hours. Keep away from water, rain and sweaty workouts in that time too.
Does fake tan protect you from the sun?
No. The colour produced by DHA gives no meaningful UV protection, however tanned your skin looks. Apply a separate sunscreen over the top once your tan has developed and your skin is dry, exactly as gradual tan bottles instruct.
How often should you top up fake tan?
Re-apply mousse every five to seven days, after a full exfoliation, rather than layering fresh tan over old. With a gradual tan, apply daily until you reach the depth you want, then every two to three days to hold it. Exfoliate everything off about once a week so build-up never gets the chance to go patchy.
Can you use fake tan on your face?
Yes, but use far less than you would on your body. Buff one small pump of mousse in with a clean foundation brush, or mix a little gradual tan into your usual moisturiser, keeping clear of brows and hairline. Some reviewers find body formulas too heavy for facial skin, so patch test first if you are blemish-prone.