
At-Home Pedicure Routine for Dry, Rough Feet
Published 5 August 2026
A practical, step-by-step at-home pedicure for dry, rough and cracked feet - from a warm soak and filing hard skin to nail care, deep moisturising and keeping feet soft between treatments.
We earn commission from qualifying Amazon purchases. It costs you nothing and does not affect what we recommend.
Quick Answer
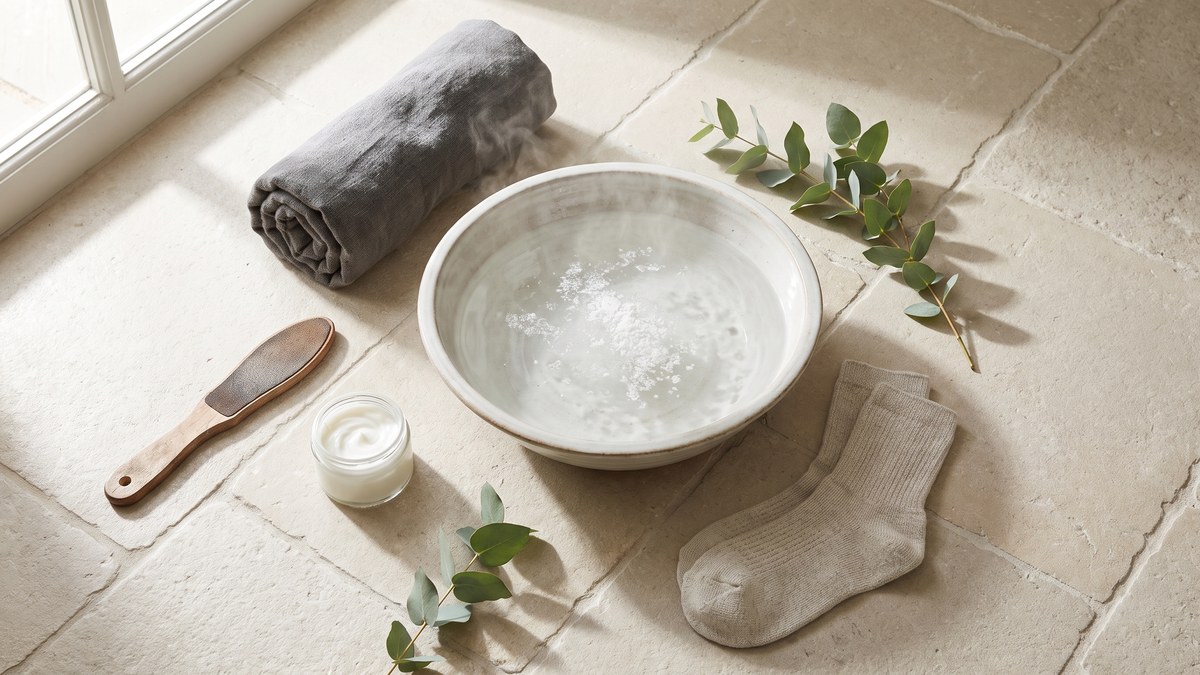
To sort dry, rough feet at home, soak them in comfortably warm water (around 37 to 40°C) for 10 to 15 minutes, then file away the softened hard skin with a dedicated foot file. Shape your toenails, gently push back the cuticles, then massage in a rich foot cream and pull on cotton socks to seal it in. Repeat the full routine every four to six weeks, exfoliate lightly each week and moisturise daily so the hard skin does not come back.
- Step 1: Soak Your Feet to Soften the Skin
- Step 2: File Away Hard Skin and Calluses
- Step 3: Try a Foot Peel for Stubborn Dead Skin
- Step 4: Shape Your Toenails and Tidy Cuticles
- Step 5: Deeply Moisturise Dry, Cracked Feet
- Step 6: Keep Your Feet Soft Between Pedicures
- Frequently Asked Questions
- Related Reading
Dry, rough feet are almost a national pastime in the UK. Months in socks and boots, hard floors, central heating and the odd barefoot summer all leave the skin on our heels thick, flaky and prone to cracking. Feet also have far fewer oil glands than the rest of the body, so they dry out faster and need a bit more help to stay soft.
The good news is that you do not need an expensive salon appointment to fix them. With a warm soak, the right file, a proper foot cream and a sensible routine, you can shift built-up hard skin and keep it off. This guide walks through the full at-home pedicure in order, with UK-friendly timings, temperatures and how often to repeat each step, plus the common mistakes (like taking a metal grater to wet skin) that make rough feet worse.
Step 1: Soak Your Feet to Soften the Skin
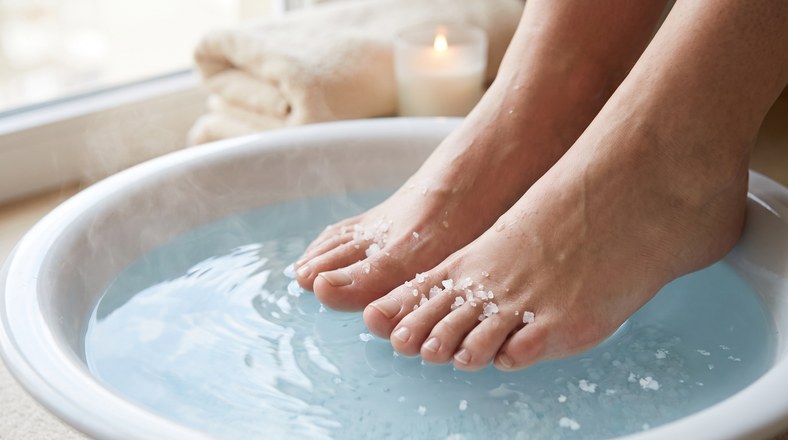
Start by softening the hard skin so the rest of the routine is easier and safer. Fill a basin or the bath with comfortably warm water, around 37 to 40°C. It should be warm enough to relax in, never hot, as very hot water strips the skin and leaves it drier. Test it with the inside of your wrist first.
Soak for 10 to 15 minutes. A good handful of Epsom salts in the water helps to ease tired feet and makes the soak feel more like a treat, while the warmth plumps and loosens the dead surface skin. If your feet are very dry, keep soaks to once or twice a week rather than daily, as long daily soaking can actually pull moisture out of already parched skin.
- Add a couple of tablespoons of Epsom salts to a basin of warm water and swirl to dissolve.
- Keep the water comfortably warm at 37 to 40°C, not hot.
- Dry your feet thoroughly afterwards, especially between the toes, to discourage athlete's foot.
For a relaxing, unscented soak we rate Westlab Reviving Epsom Salt. It dissolves quickly and does not leave a fragrance that clashes with your foot cream later on.
 Featured
15% OFF*Limited offer
One Sunday. A week of food, sorted.
23 high-protein recipes, cycle-synced for women who lift.
23 recipes · 60-page PDF · Instant download
£19.20 £16.32
See it on Etsy*Seller's discount on Etsy - may end at any time.
Step 2: File Away Hard Skin and Calluses
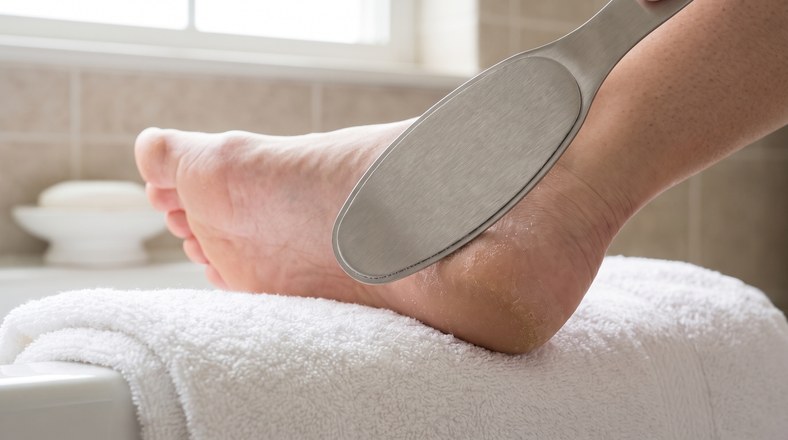
Once the skin is soft, you can tackle thick, hard areas on the heels, the balls of the feet and the sides of the big toes. A good stainless steel foot file or rasp does this far better than a cheap plastic one. Work in one direction with light, patient strokes rather than sawing back and forth, and stop as soon as the skin feels smooth, not raw.
Podiatrists actually recommend filing when the skin is dry, or only lightly damp, rather than soaking wet. Wet skin swells and hides exactly how much you are removing, which makes it easy to overdo it. If you prefer to file after soaking, pat your feet almost dry first and use a very light touch. For very thick calluses, do a little each week instead of trying to remove it all in one go.
- Use light pressure and check your progress often. Hard skin should look thinner, not sore or red.
- Avoid aggressive metal cheese-grater blades and callus shavers. They remove too much and can nick the skin, which risks infection.
- Never grate at soft, water-logged skin, as it is far too easy to take off healthy skin as well.
- Rinse away the filings and dry your feet before moving on.
The BEZOX double-sided foot file is a sturdy, well-priced pick for this, with a coarser side for thick calluses and a finer side to smooth the finish.
Step 3: Try a Foot Peel for Stubborn Dead Skin
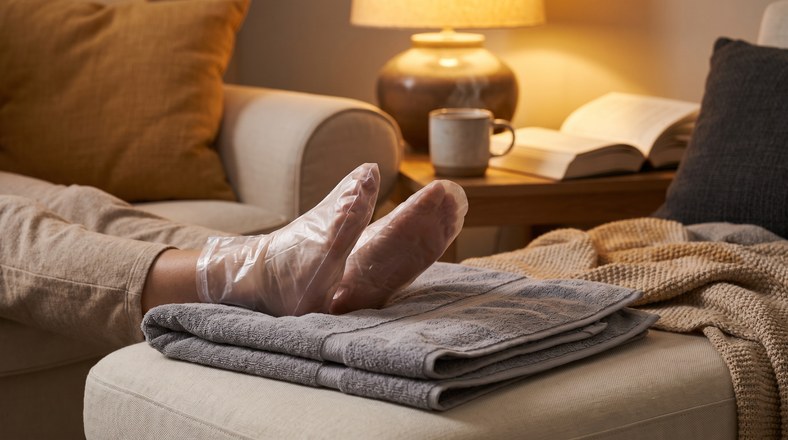
If your feet build up a lot of hard skin, a foot peel is a satisfying deep clean between filings. These are plastic booties filled with fruit acids (AHAs) that loosen the bonds between dead skin cells. You wear them for around an hour, rinse, and then over the next one to two weeks the dead skin flakes and peels away on its own to reveal softer skin underneath.
Because of that timeline, a peel is not a same-sitting step. Plan it a week or two before a holiday or event, or use it between full pedicures rather than on the day itself. Do not be tempted to pick or pull at peeling skin, and do not file and peel at the same time, as that is too much for the skin at once.
- Use a foot peel roughly every six to eight weeks at most, not weekly.
- Expect visible peeling for one to two weeks, so wear socks and avoid open sandals if you would rather hide it.
- Avoid peels on broken, cracked or infected skin, and if you are diabetic or have poor circulation, check with a podiatrist first.
The Plantifique Foot Peel Mask comes as two pairs, so you get a repeat treatment, and it is aimed squarely at removing dead skin and softening rough heels.
Step 4: Shape Your Toenails and Tidy Cuticles
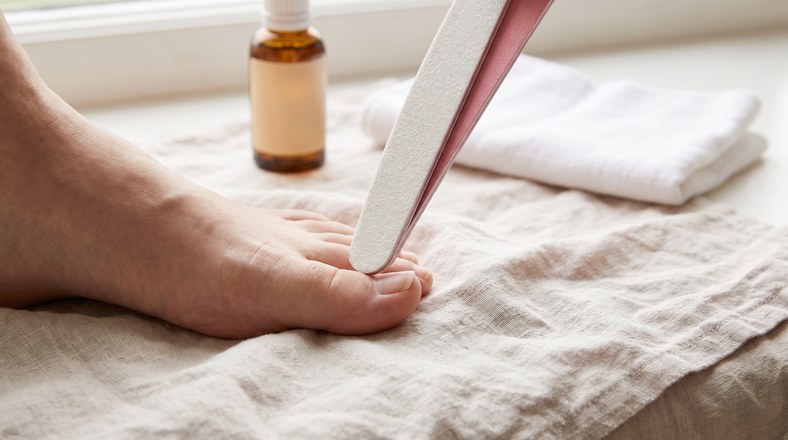
With the skin sorted, move on to the nails. Trim toenails straight across rather than curved, and leave them level with the end of the toe. Cutting down the sides or too short invites painful ingrown nails. Use proper toenail clippers, not scissors meant for fingernails.
Next, smooth the edges with an emery board. File in one direction rather than sawing back and forth, which can split the nail. Then gently push back the cuticles with a soft towel or a rubber-tipped hoof stick while they are still soft from the soak. Do not cut your cuticles, as they seal the base of the nail against infection.
- Cut straight across and no shorter than the tip of the toe.
- File the edges smooth in one direction with a medium-grit emery board.
- Push cuticles back gently and never trim them.
- A dab of cuticle oil or your foot cream keeps the skin around the nail supple.
A pack of double-sided emery boards like these 100/180 grit files is cheap, hygienic to replace often, and handles both the shaping (coarser side) and the finishing (finer side).
Step 5: Deeply Moisturise Dry, Cracked Feet
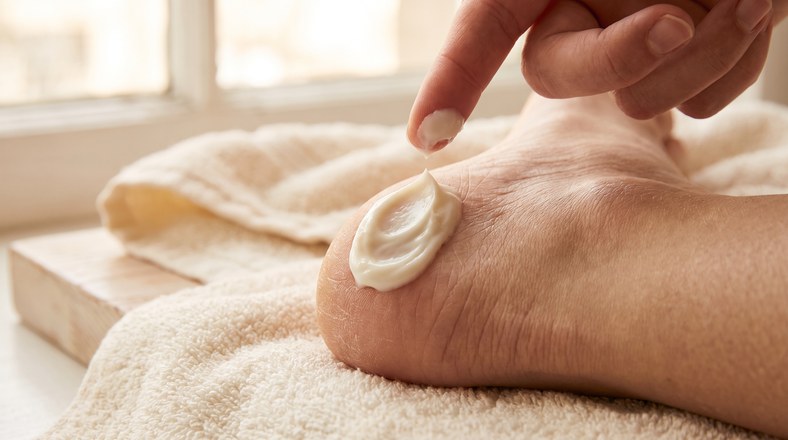
This is the step that actually keeps feet soft, so do not skimp on it. Regular body lotion is usually too light for feet. Look for a proper foot cream with ingredients like urea, glycerin, shea butter or ceramides, which pull in and hold on to moisture and soften hard skin over time.
Massage a generous amount into clean, dry feet, working it well into the heels and any rough patches. The massage itself feels lovely and helps circulation. For the biggest difference on very dry or cracked feet, do this last thing at night and pull on a pair of clean cotton socks. They hold the cream against the skin and stop it rubbing off on the sheets, so it works while you sleep.
- Choose a foot-specific cream over a light body lotion for dry, cracked skin.
- Apply daily, and overnight under cotton socks two or three times a week for an intensive treatment.
- Avoid moisturising between the toes, where trapped damp can encourage fungal infection.
O'Keeffe's Healthy Feet is a firm favourite for exactly this, a thick, fragrance-free cream aimed at very dry, cracked feet that absorbs without feeling greasy.
Step 6: Keep Your Feet Soft Between Pedicures
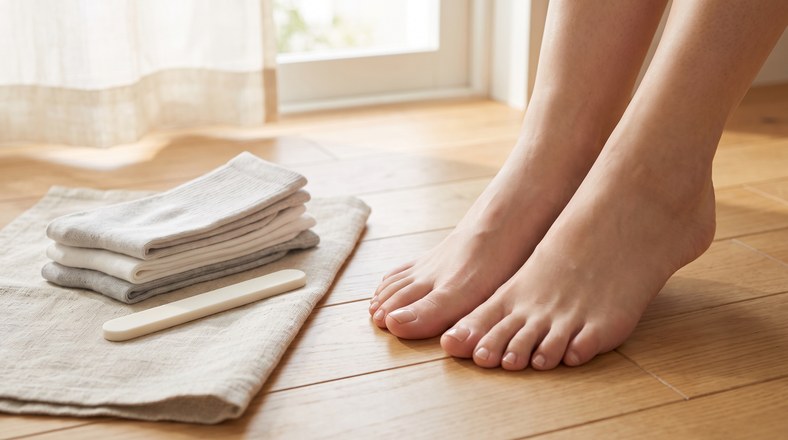
A one-off pedicure fades fast if you go back to old habits, so the secret to smooth feet is little and often. Moisturise every day, which takes about ten seconds after a shower, and give your feet a light going-over each week so hard skin never gets a chance to build back up to where you started.
A gentle chemical exfoliant is an easy way to stay on top of it between filings. A glycolic acid stick or lotion swiped over the heels once or twice a week keeps the surface smooth without any scrubbing. Alongside that, a full soak, file and moisturise pedicure every four to six weeks is plenty for most people.
- Moisturise daily and exfoliate lightly once or twice a week.
- Wear well-fitting, supportive shoes, as tight or backless shoes rub and thicken the skin on the heels.
- Avoid walking barefoot on hard floors for long stretches, which encourages callus to form.
- Drink enough water and keep skin hydrated from the inside too.
The INKEY List Glycolic Acid Exfoliating Body Stick is a tidy, fragrance-free way to do that weekly maintenance swipe over rough heels.
Frequently Asked Questions
How often should I do an at-home pedicure for dry feet?
A full soak, file and moisturise pedicure every four to six weeks suits most people. In between, moisturise daily and exfoliate lightly once or twice a week so hard skin does not build back up.
Should I file my feet wet or dry?
Podiatrists generally recommend filing on dry or only lightly damp skin. Soaked, water-logged skin swells and hides how much you are removing, which makes it easy to overdo it. If you do file after a soak, pat your feet almost dry first and use light pressure.
Why are the soles of my feet so dry and cracked?
Feet have far fewer oil glands than the rest of the body, so they dry out quickly. Pressure from standing and walking, hard floors, central heating, open-backed shoes and skipping moisturiser all add up, and the skin thickens and cracks to protect itself. A regular soak, file and moisturise routine keeps it under control.
Are metal foot graters safe for cracked heels?
Heavy blade-style callus shavers and cheese-grater tools are best avoided at home. They remove too much skin at once and can nick you, which risks infection, especially on already cracked heels. A stainless steel foot file used gently on dry skin is much safer. If your heels are deeply cracked or painful, see a podiatrist.
Related Reading
- Westlab Reviving Epsom Salt review
- BEZOX Premium Foot File review
- Plantifique Foot Peel Mask review
- Double-Sided Nail Files (100/180 Grit) review
- O'Keeffe's Healthy Feet Foot Cream review
- The INKEY List Glycolic Acid Body Stick review
- How to Stop Foundation Separating on Oily Skin
- Best Face Moisturiser for Dry Skin UK: 6 That Actually Quench Dry Skin
Disclaimer: This article contains Amazon affiliate links. We may earn a small commission from qualifying purchases at no extra cost to you.